

When it comes to achieving a professional-looking paint job, proper painting prep is essential. Many people underestimate the importance of preparing surfaces before painting, but skipping this step can lead to a less-than-perfect finish. Painting prep involves several steps, including cleaning surfaces, choosing the right tools and materials, masking and covering areas that are not to be painted, sanding surfaces, filling and repairing imperfections, priming, and using proper painting techniques. By taking the time to properly prepare for painting, you can ensure a flawless finish that will last for years to come.
Key Takeaways
- Proper painting prep is crucial for achieving a flawless finish.
- Starting with a clean surface is essential for successful painting prep.
- Choosing the right tools and materials can make a significant difference in the quality of your painting prep.
- Masking and covering are important steps in protecting your home during painting prep.
- Sanding, filling, repairing, priming, and using proper painting techniques are all key components of successful painting prep.
Start with a Clean Slate: Preparing Surfaces for Painting
One of the most important steps in painting prep is cleaning the surfaces that will be painted. This is crucial because paint adheres better to clean surfaces, ensuring a smooth and long-lasting finish. Before you begin painting, it’s important to remove any dirt, dust, grease, or other contaminants from the surfaces. For walls and ceilings, start by dusting or vacuuming to remove loose dirt and debris. Then, use a mild detergent mixed with water to wash the surfaces. Rinse thoroughly and allow them to dry completely before painting.
When it comes to cleaning trim or other woodwork, it’s important to use a different approach. Start by dusting or vacuuming to remove loose dirt and debris. Then, use a wood cleaner or a mixture of mild detergent and water to clean the surfaces. Be sure to follow the manufacturer’s instructions for any cleaning products you use. Rinse thoroughly and allow the surfaces to dry completely before painting.
Choosing the Right Tools and Materials for Painting Prep
Having the right tools and materials is essential for successful painting prep. Some of the basic tools you will need include sandpaper, a putty knife, painter’s tape, drop cloths or plastic sheeting, and a paintbrush or roller. When it comes to choosing sandpaper, it’s important to select the right grit for the job. Coarse grit sandpaper (around 80-100) is best for removing old paint or roughing up surfaces, while finer grit sandpaper (around 120-150) is best for smoothing surfaces before painting.
In addition to sandpaper, a putty knife is also an essential tool for painting prep. This tool is used to fill and repair imperfections in the surfaces before painting. When choosing a putty knife, look for one with a flexible blade that will allow you to easily spread and smooth the putty or filler.
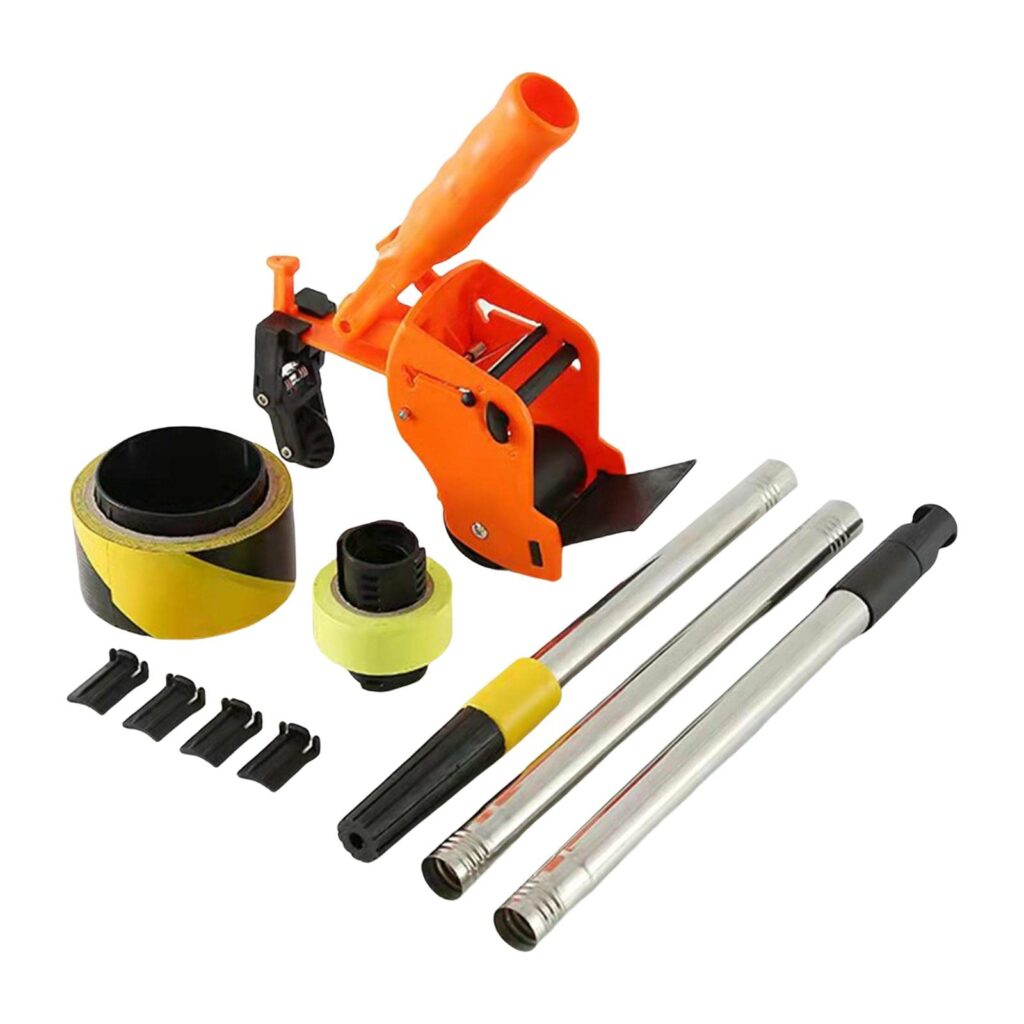
Painter’s tape is another important tool for painting prep. This tape is used to mask off areas that are not to be painted, such as trim, windows, and door frames. It’s important to choose a high-quality painter’s tape that will adhere well and remove cleanly without damaging the surfaces.
Protecting Your Home: Tips for Masking and Covering
| Tip | Description |
|---|---|
| Use high-quality air filters | Filters can trap airborne particles and improve indoor air quality. |
| Seal windows and doors | Sealing gaps and cracks can prevent outdoor air from entering your home. |
| Clean and disinfect frequently touched surfaces | Regular cleaning can help reduce the spread of germs and viruses. |
| Wear a mask | A mask can help prevent the spread of respiratory droplets. |
| Use curtains or blinds | Covering windows can help block sunlight and reduce heat gain. |
Masking and covering surfaces that are not to be painted is an important step in painting prep. This helps protect these areas from accidental paint splatters or drips. One of the most commonly used tools for masking is painter’s tape. When using painter’s tape, it’s important to apply it properly to ensure a clean line and prevent paint from bleeding underneath. Start by cleaning the surface where the tape will be applied to remove any dirt or dust. Then, apply the tape in a straight line, pressing it firmly against the surface. Be sure to remove the tape while the paint is still wet to prevent it from peeling off dried paint.
In addition to painter’s tape, drop cloths or plastic sheeting can be used to cover larger areas or furniture. These should be placed on the floor or over furniture before painting begins to catch any paint drips or spills. It’s important to secure the drop cloths or plastic sheeting in place to prevent them from shifting during painting.
Mastering the Art of Sanding: Achieving a Smooth Surface
Sanding surfaces before painting is an important step in achieving a smooth and professional-looking finish. Sanding helps remove any rough spots, old paint, or imperfections on the surfaces, allowing the new paint to adhere better. When sanding, it’s important to use the right grit sandpaper for the job. Coarse grit sandpaper (around 80-100) is best for removing old paint or roughing up surfaces, while finer grit sandpaper (around 120-150) is best for smoothing surfaces before painting.
When sanding, it’s important to sand in the right direction. For flat surfaces, sand in a back-and-forth motion with the grain of the wood or in a circular motion. For curved or contoured surfaces, use a sanding sponge or block to ensure even sanding. Be sure to sand lightly and evenly, applying even pressure to avoid creating low spots or gouges in the surface.
After sanding, be sure to remove any dust or debris from the surfaces before painting. This can be done by wiping the surfaces with a damp cloth or using a vacuum cleaner with a brush attachment.
Filling and Repairing: Fixing Imperfections Before Painting

Before painting, it’s important to fill and repair any imperfections in the surfaces. This includes filling nail holes, cracks, dents, or other damage that may be present. Filling and repairing these imperfections will help ensure a smooth and flawless finish.
To fill nail holes or small cracks, use a lightweight spackling compound or wood filler. Apply the filler with a putty knife, pressing it firmly into the hole or crack. Be sure to smooth the filler evenly with the surface using the putty knife. Allow the filler to dry completely before sanding and painting.
For larger cracks or holes, it may be necessary to use a patching compound or joint compound. These compounds are thicker and can be used to fill larger areas. Apply the compound with a putty knife, pressing it firmly into the crack or hole. Smooth the compound evenly with the surface using the putty knife. Allow the compound to dry completely before sanding and painting.
Priming: The Key to a Flawless Finish
Priming surfaces before painting is an important step in achieving a flawless finish. Primer helps seal the surfaces, providing a smooth and even base for the paint to adhere to. It also helps hide any imperfections in the surfaces and improves the durability of the paint.
When choosing a primer, it’s important to select the right type for the job. There are different types of primers available, including oil-based primers, water-based primers, and shellac-based primers. The type of primer you choose will depend on the type of surface you are painting and the type of paint you will be using.
When applying primer, it’s important to do so evenly and in thin coats. This will help prevent drips or runs in the paint and ensure a smooth finish. Use a brush or roller to apply the primer, following the manufacturer’s instructions for drying times between coats.
Painting Techniques: Tips for a Professional Look
U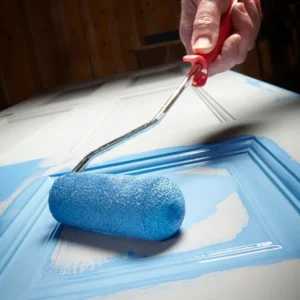 sing proper painting techniques is essential for achieving a professional-looking paint job. One of the most important techniques is using a roller for larger areas and a brush for smaller areas or trim. When using a roller, it’s important to use even pressure and apply the paint in thin coats. Start by rolling the paint onto the surface in a “W” or “M” pattern, then fill in the rest of the area with long, even strokes.
When using a brush, it’s important to use smooth and even strokes. Start by cutting in the edges of the area with a brush, then fill in the rest of the area with long, even strokes. Be sure to feather out the brush strokes to create a smooth and even finish.
It’s also important to work quickly and efficiently when painting. This will help prevent the paint from drying too quickly and leaving visible brush or roller marks. If necessary, use a paint extender or conditioner to slow down the drying time of the paint.
Clean Up and Maintenance: Keeping Your Painting Tools in Top Shape
After painting, it’s important to clean up properly and maintain your painting tools. This will help ensure that your tools are in top shape for future painting projects and prevent them from becoming clogged or damaged.
To clean brushes and rollers, start by removing as much paint as possible by scraping or wiping it off. Then, rinse the brushes or rollers with warm water to remove any remaining paint. Use a mild detergent or brush cleaner to remove any stubborn paint or stains. Rinse thoroughly and allow the brushes or rollers to dry completely before storing.
When storing paint, it’s important to seal the containers tightly to prevent air from entering and drying out the paint. Store paint in a cool, dry place away from direct sunlight or extreme temperatures.
The ColorKraft Homes Advantage: Expert Painting Prep and Services
If you’re looking for expert painting prep and services, look no further than ColorKraft Homes. With years of experience in the industry, ColorKraft Homes offers professional painting services that are tailored to meet your specific needs. From painting prep to choosing the right colors and finishes, their team of experts will ensure a flawless finish that will transform your home.
 To learn more about ColorKraft Homes and their expert painting services, visit their website or contact them directly. Don’t settle for anything less than perfection when it comes to your home’s paint job. Contact ColorKraft Homes today and let their team of experts bring your vision to life.
If you’re planning to give your home a fresh coat of paint, it’s important to ensure that the preparation work is done properly. From cleaning the surfaces to repairing any damages, a well-prepared surface is key to achieving a flawless paint job. In a recent article by ColorKraft Homes, they provide valuable insights on the importance of painting preparation and share expert tips on how to get it right. Whether you’re looking for Villa Park house painters in Orange County or Newport Beach house painters, this article will guide you through the essential steps to ensure a professional-looking finish. Check out the article About for more information.
Other cities we serve
Anaheim Home Painter Near Me | Costa Mesa Home Painter Near Me | Fullerton Home Painter Near Me | Huntington Beach Home Painter Near Me | Laguna Hills Home Painter Near Me
FAQs

What is painting preparation?
Painting preparation refers to the process of preparing a surface before applying paint. This includes cleaning, sanding, filling holes and cracks, and priming the surface.
Why is painting preparation important?
Painting preparation is important because it ensures that the paint adheres properly to the surface, resulting in a smooth and long-lasting finish. It also helps to prevent issues such as peeling, cracking, and bubbling.
What are the steps involved in painting preparation?
The steps involved in painting preparation include cleaning the surface, sanding it to create a smooth surface, filling any holes or cracks with putty or spackle, and priming the surface to create a base for the paint to adhere to.
What tools are needed for painting preparation?
Tools needed for painting preparation include sandpaper, putty knife, spackle, cleaning solution, rags, and primer.
What surfaces require painting preparation?
Most surfaces require painting preparation, including walls, ceilings, woodwork, and metal surfaces. The only exception may be if the surface is already smooth and clean, and has been previously painted with a high-quality paint.
How long does painting preparation take?
The time it takes to prepare a surface for painting depends on the size of the area and the condition of the surface. It can take anywhere from a few hours to a few days to complete the preparation process.
Page Design By: House Painting Near Me